
Last updated November 22, 2026
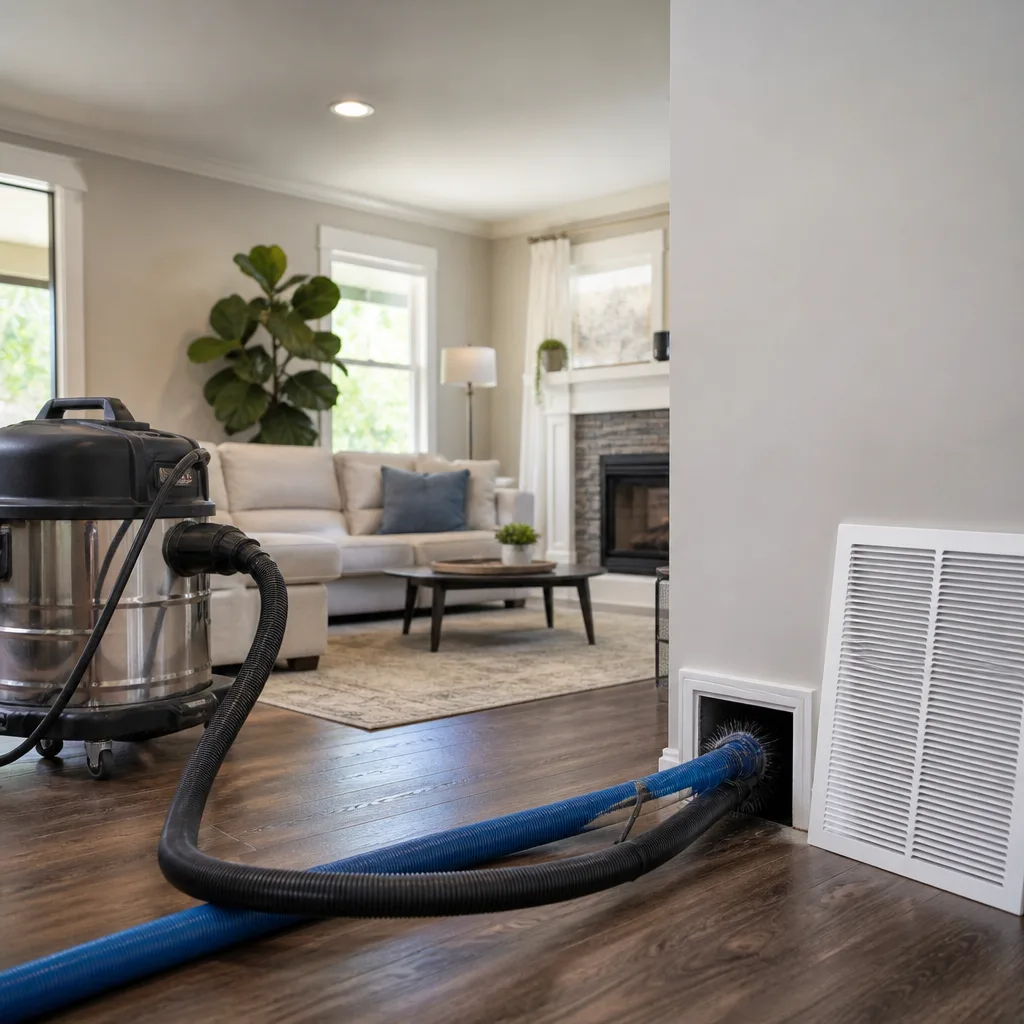 Whole-home duct cleaning
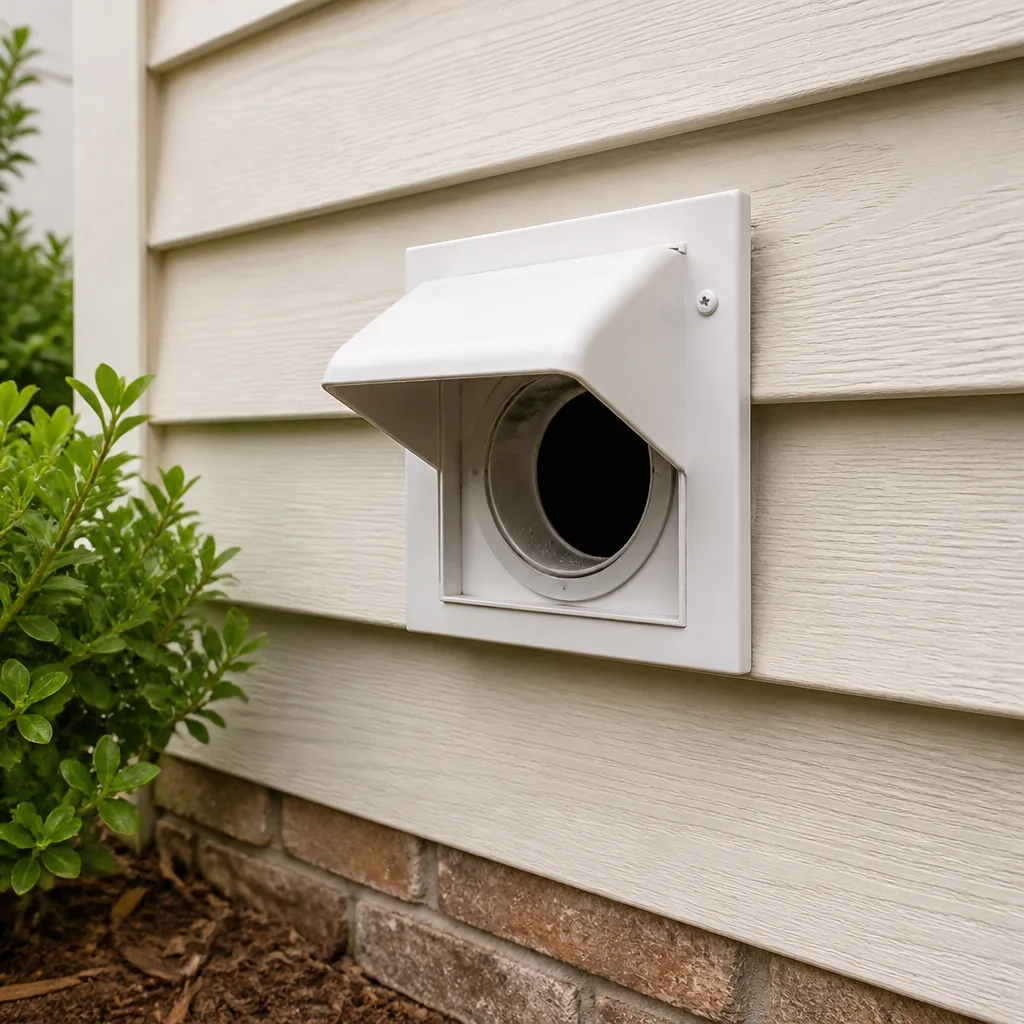 Dryer vent cleaning
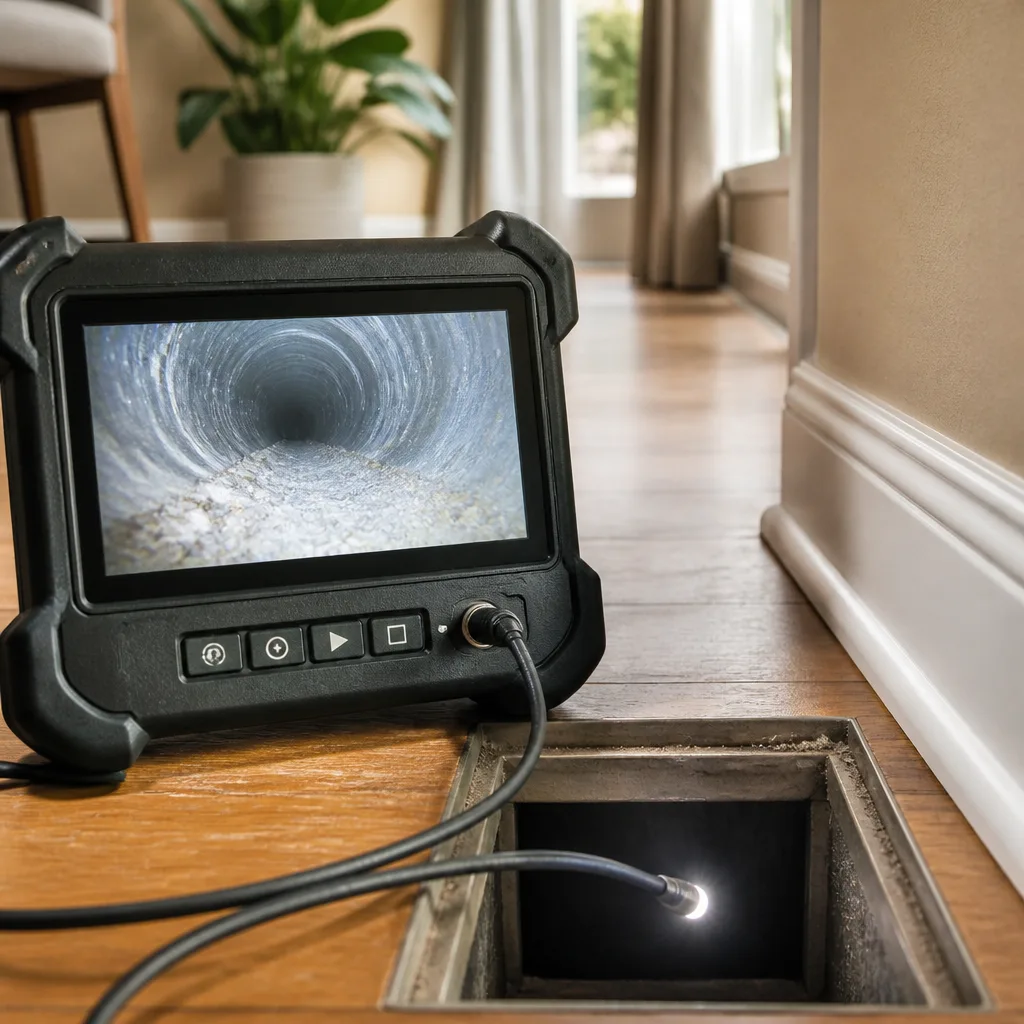 Camera inspection
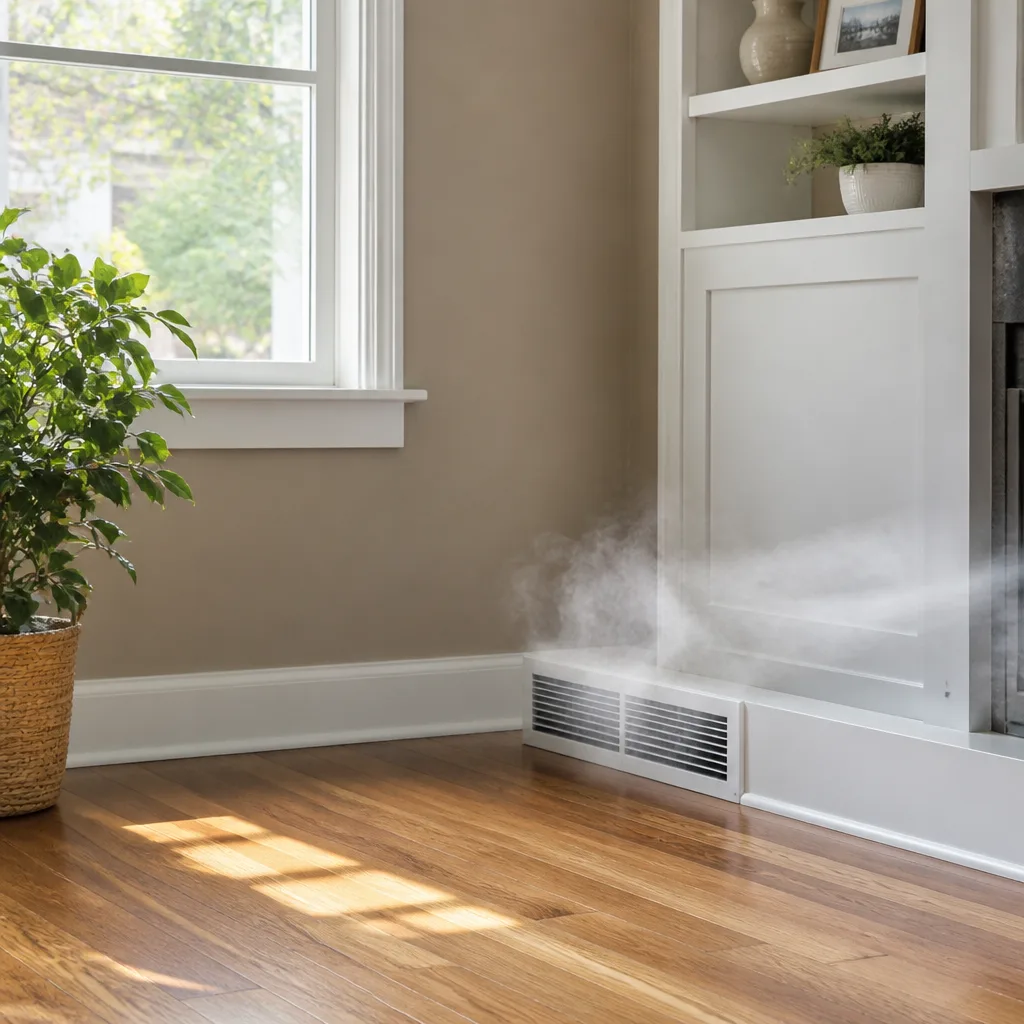 Sanitizing & deodorizing
Whole-system duct and dryer vent check with before-and-after photos - you see exactly what came out of your vents
That "$99 whole-house special" is a bait ad - the real number appears once they are in your hallway, or the "clean" is a shop-vac at the register. We photograph the inside of your ducts before and after instead.
Air Duct Cleaning Maintenance Checklist for Williamsburg Homeowners
The filter you change every 90 days tells you almost nothing about what’s happening 15 feet inside your return plenum – and that’s exactly where the buildup that matters starts. Most homeowners treat duct care as a single event: book a cleaning, forget about it, repeat in a few years. The problem is that between those cleanings, small failures accumulate quietly. Tape lets go. Condensation pools in a low run. A neighbor’s renovation pushes fine gypsum dust into a shared return. By the time you notice reduced airflow, you’re looking at repair work instead of routine maintenance. This guide gives you a between-service checklist built around what actually degrades in Williamsburg’s dense, humid, high-particulate environment, so you catch the cheap problems before they become expensive ones.
Quick Answer
A practical air duct maintenance checklist for Williamsburg homeowners combines monthly visual checks at registers and filter housings, seasonal airflow and pressure observations, tracking renovation activity in adjacent units, inspecting duct exteriors in utility closets and crawlspaces, and keeping a written service log. Done consistently, these checks catch condensation, tape failure, and contamination early, so you schedule cleaning and repair on your terms rather than after an efficiency or air quality problem has already set in.
Styles & brands we work with
- Whole-home duct cleaning
- Dryer vent cleaning
- Camera inspection
- Sanitizing & deodorizing
Table of Contents
- Monthly Visual Checks at Registers, Grilles, and Filter Housings
- Seasonal Airflow and Pressure Checks
- Tracking Renovation Activity in Adjacent Units
- What to Look For on Duct Exterior Surfaces
- Building a Service Log That Works For You
- How Often Ducts Actually Need Cleaning in Williamsburg
- Why Equipment Choice Changes the Outcome
- Common Mistakes to Avoid
Monthly Visual Checks at Registers, Grilles, and Filter Housings
Fifteen minutes a month with a phone camera is the single highest-value habit in this checklist. The goal isn’t to diagnose problems yourself – it’s to build a visual record you can compare month to month. When something changes, you’ll know exactly when it changed and what it looked like before. That record is worth more to a technician than any description you can give over the phone.
At each supply register, look for a soft grey or black film on the louvers. A faint even dusting is normal. What you’re watching for is uneven buildup – heavier on one side, or concentrated at a single vent while the others stay clean. That pattern usually points to a leak or a short-circuit in the duct run feeding that register, not to a whole-system dust problem. Photograph it against a consistent reference, like the edge of the grille frame, so scale is obvious in later comparison.
At the return grille, check the filter housing fit. The filter should sit flush with no visible gaps at the edges. A filter that’s 1/4 inch small for its slot lets unfiltered air bypass it entirely, which means the coil and the duct interior collect what the filter was supposed to catch. Photograph the housing with the filter removed, then with it seated, so you can see whether the fit has shifted.
- Photograph every supply register at the same angle each month, in the same light.
- Note the filter brand and size in your log so replacements stay consistent.
- Check the return housing fit and photograph any gap at the filter edges.
- Wipe one register louver with a white cloth and photograph the cloth – this gives you a crude but consistent dust-load reference.
- Record the date and anything unusual, like a musty smell or a whistle at a vent.
In Williamsburg’s older residential buildings, registers are often original to the unit and set into plaster or millwork. Removing them to inspect behind is tempting, but a grille that’s been painted into place for decades rarely goes back cleanly. Photograph in place instead, and leave removal to a technician with the right tools and a plan for re-seating. Our teams have up to 13 years of experience and see this constantly in pre-war buildings across the neighborhood.
Seasonal Airflow and Pressure Checks
Reduced airflow is the earliest measurable sign that something in the system has changed, and it shows up long before the system stops heating or cooling properly. You don’t need instruments to catch the obvious version. You do need to check at the same time each season so the comparison means something, because airflow naturally shifts with outdoor temperature and system mode.
The tissue test is the simplest reliable field check. Hold a single-ply tissue against a supply register with the system running on fan only. It should be pulled firmly against the grille and stay there. If it flutters or falls away at a vent that used to hold it, that run has lost output. Do this at every register and note which ones are weak. A single weak register points to a branch problem. Weak output everywhere points to a filter, blower, or main trunk issue.
- Weak at one register: likely a disconnected or crushed branch run, a closed damper, or a leak near that takeoff.
- Weak at registers farthest from the air handler: classic sign of leaks along the main trunk bleeding pressure before the air arrives.
- Weak everywhere at once: check the filter first, then the blower, then the return path.
- Strong at some vents, whistling at others: a balancing or damper problem, and often a leak nearby.
Listen as well as feel. A whistle at a grille means air is being forced through a gap too small for the volume – a leak at the boot, a partially collapsed flex run, or a damper left nearly closed. In Williamsburg’s tight apartment layouts, a whistling vent is often the first thing a resident notices, and it’s usually cheap to fix when it’s caught in the same season it starts. Left alone through a summer of heavy cooling demand, the leak widens and the fix grows. That progression is exactly why we treat HVAC cleaning and duct sealing as connected work rather than separate line items.
Tracking Renovation Activity in Adjacent Units
This is the item most checklists miss, and in Williamsburg it matters more than almost anywhere. Dense residential blocks mean shared walls, shared chases, and shared return paths in many buildings. When a neighboring unit renovates – and in this neighborhood, units renovate constantly – fine dust from demolition, drywall sanding, and floor refinishing migrates through every gap in the building envelope. Some of it lands in your ducts.
You’ll usually know before the noise starts. A dumpster appears in front of the building. Workers carry materials up the stairs. You hear cutting and sanding through the wall. Start a note in your service log the day you see it, with the date. Then watch your filter and your registers more closely for the next several weeks. A filter that normally looks grey at the three-month mark but turns dark within three weeks is telling you exactly what’s happening.
- Log the date you first notice renovation activity in or adjacent to your building.
- Inspect your filter weekly for the duration of the work rather than monthly.
- Photograph your registers before the work starts, so you have a clean baseline.
- Keep windows closed on the side facing the work and check that your return isn’t pulling from a shared corridor if your building has one.
- Schedule a cleaning after the work concludes, not during it – cleaning mid-renovation just means the ducts refill.
One clarification worth making: heavy renovation dust isn’t a reason to panic-clean every few weeks. It’s a reason to inspect more often and to time one thorough cleaning to the end of the project. If you share a return with a renovating neighbor, that timing conversation is worth having with your building management as well, since the contamination source isn’t entirely inside your unit. When the work is done, that’s when a full-system cleaning with proper negative-air containment pays off – and it’s why we run Nikro vacuum and negative-air equipment during service, so the dust we loosen goes into a HEPA-filtered machine instead of back into your living room.
What to Look For on Duct Exterior Surfaces
The inside of your ducts gets all the attention, but the outside surfaces tell you more, earlier, and without any tools. Exposed duct runs in utility closets, basements, and crawlspaces show the first signs of trouble as condensation, rust, and failing tape. In Williamsburg’s humid summers, with air conditioning running hard for months, the temperature difference between cold duct metal and warm moist air is exactly the condition that produces condensation.
Look for three things, in this order. Condensation: water beads, damp insulation, or a dark water-stain ring on the duct jacket. Any persistent moisture on a cold duct surface means the insulation or vapor barrier has failed somewhere, and wet insulation is a microbial growth environment. Rust bleed-through: orange or brown staining coming through the jacket or at the seams, which tells you moisture has been sitting there long enough to corrode the metal underneath. Tape failure: duct tape that’s curling at the edges, has lost adhesion, or shows a gap. Fabric-backed “duct tape” fails predictably in humid conditions; the adhesive gives up and the seal opens.
- Damp insulation or beaded water on any cold duct surface – inspect the vapor barrier.
- Rust stains at seams and joints – moisture has been present long enough to corrode.
- Curling, lifting, or gapped tape at every joint and takeoff.
- Sagging flex duct – a low point collects condensation and restricts flow.
- Disconnected or slipped joints – often visible as a gap where a branch meets the trunk.
- Musty odor in a closet or crawlspace when the system runs.
Here’s where you stop and call. Tape failure and joint separation are repairable, but they need proper mastic and mesh or a mechanical seal, not another layer of hardware-store tape that will fail again next summer. And if you find microbial growth on a duct surface, that’s not a scrubbing job – it needs the right containment and treatment. Duct repair and sealing is work most standalone duct cleaners don’t perform at all, which is one reason we keep it as a dedicated service alongside cleaning. When a leak is sealed properly, the system holds pressure and the air duct cleaning you paid for stays effective for years instead of months. If you’re seeing rust or moisture you can’t explain, a free estimate is the fastest way to find out whether it’s a repair or a bigger moisture problem.
Building a Service Log That Works For You
A service log sounds like homework until the first time you need it. Then it’s the difference between a technician spending twenty minutes diagnosing your system and spending two hours, and it’s your best leverage if a warranty question ever comes up. The log doesn’t need to be elaborate. A notes app on your phone works fine, as long as it captures the right fields and you actually update it.
Record five things for every service visit and every significant observation. First, the date and what was done – cleaning, repair, sealing, sanitizing, filter change. Second, who did it: the company name and any identifying details on the invoice. Third, the equipment used, if you know it. Fourth, before-and-after photos if they were provided. Fifth, anything the technician flagged as a future concern. That last item is the most valuable one, because it turns a one-time visit into a maintenance plan you can follow.
- Date and service performed – the basics, kept in one place.
- Provider name and invoice reference – your paper trail if anything needs follow-up.
- Equipment used – rotary brush, negative-air vacuum, filtration unit, sanitizing products.
- Before-and-after photos – keep your own copy, not just the one texted to you.
- Flagged concerns – the leak they noticed, the filter size they recommended, the run they said to watch.
- Your own monthly photos – filed by date so you can compare over time.
Two habits make the log genuinely useful. When you hire a contractor, ask for before-and-after photos of your own ducts and keep them – not stock photos, not “representative” images. And when you call a new company, describe what’s in your log rather than what you remember. “Rotary brush cleaning in the fall, one weak register in the back bedroom that was never resolved” gets you a sharper estimate and a better plan than “I think it’s been a few years.” We work with Honeywell and Aprilaire filtration products where upgrades make sense, and a log that shows your filter history and airflow observations is exactly what helps decide whether an upgrade is worth it for your unit.
How Often Ducts Actually Need Cleaning in Williamsburg
There’s no single correct interval, and any company that quotes one number for every home is guessing. The honest answer is that most homes need a professional cleaning every three to five years, with real variation based on the factors below. What matters more than the interval is the inspection that precedes it – because the right schedule comes from what’s actually in your system, not from a calendar.
In Williamsburg specifically, several factors push the interval shorter. Dense multi-unit buildings share more airborne dust between units. Older housing stock has more gaps and irregular duct layouts where debris settles. Humid summers keep condensation risk high for months. Renovation activity is near-constant on many blocks. Homes with pets, smokers, or residents with respiratory sensitivities should err toward shorter intervals, and homes that recently completed a renovation should treat the post-project cleaning as a distinct event rather than waiting for the regular cycle.
- Every 3-5 years: typical baseline for most Williamsburg homes with no special factors.
- Every 2-3 years: pets, recent renovation, humid basement or crawlspace, heavy urban dust exposure.
- After any major renovation: once construction is fully complete, not before.
- Sooner if flagged: visible growth, persistent odor, or a technician’s recommendation after inspection.
- Not on a fixed coupon schedule: the system’s condition decides, not a marketing calendar.
One thing to watch closely: the difference between “dusty” and “contaminated.” A duct interior with light settled dust is normal and doesn’t demand immediate action. A duct interior with visible microbial growth, rodent evidence, or debris that’s restricting airflow does, and it needs more than a vacuum pass. That distinction is why we run Abatement Technologies air filtration equipment – the same standard used in professional remediation projects. It lets us address contamination beyond surface dust, which is the difference between a cleaning that looks done and one that actually resets the system.
Why Equipment Choice Changes the Outcome
This is where the maintenance checklist meets the contractor conversation, and where most homeowners get the least information. Two companies can both say “we clean ducts” and mean very different things. The equipment tells you which one you’re hiring. It’s also the fastest way to spot a quote that’s going to disappoint you, because the tools involved either loosen and capture debris properly or they don’t.
The core of a proper cleaning is mechanical agitation paired with strong negative pressure. A rotary brush system reaches into the duct and loosens adhered debris from the walls, while a high-powered vacuum running at the same time pulls that debris out and holds it in a filtered container. The reason this matters is that a vacuum alone only removes what’s already loose. The layer that’s actually bonded to the duct walls, which is where contamination lives, needs the brush. We use the Rotobrush rotary brush system for exactly this reason – it’s the approach professional duct cleaning contractors rely on rather than a shop vac pressed against a register.
Containment is the other half. When debris is loosened, the last thing you want is it drifting back into your living space. Nikro vacuum and negative-air equipment keeps the work area under negative pressure so air flows into the machine, not out of it. Add Abatement Technologies air filtration and you have remediation-level capability, which matters most on jobs where contamination goes beyond dust.
- Ask what equipment will be used. A named rotary brush and a negative-air vacuum are the signs of a professional setup.
- Ask whether repair and sealing are available from the same provider. Cleaning without fixing leaks means the same problem returns.
- Ask whether sanitizing is a separate step or a spray-over. It should address microbial growth, odors, and particulates as its own service.
- Ask for before-and-after photos of your own ducts. Not stock photos, not a brochure.
One provider covering cleaning, repair, sealing, and air quality means no coordinating between companies who each blame the other when something’s still wrong. We handle all five services – dryer vent cleaning, HVAC cleaning, duct repair and sealing, air quality and sanitizing, and duct cleaning – so one visit can address the whole pathway. Guardsman-grade cleaning and protection products are part of the sanitizing step where it’s appropriate. If you’ve had a cleaning and still notice odor or dust, the missing piece is usually repair or containment, not another vacuum pass.
Common Mistakes to Avoid
- Trusting the filter as a proxy for duct condition. A clean filter tells you the filter is clean. The return plenum and the main trunk can be heavily fouled while the filter looks fine, because the filter only catches what reaches it.
- Cleaning during a renovation instead of after. In Williamsburg’s dense blocks, adjacent construction pushes dust through shared gaps for weeks. Cleaning mid-project just means the ducts refill by the time the work is finished.
- Re-taping failed joints with hardware-store duct tape. It fails again within a summer of humidity. Joints need proper mastic and mesh or a mechanical seal, which is repair work, not tape work.
- Ignoring condensation on a cold duct surface. Wet insulation is a growth environment. A damp patch that “dries out eventually” is telling you the vapor barrier has failed.
- Accepting a per-vent price with no system-level scope. Per-vent pricing encourages a quick pass at each register without addressing the trunk, the plenum, or the coil. Whole-system pricing agreed in writing before work starts is the standard.
- Skipping before-and-after photos. Without them, you have no way to verify the work was done as described, and no baseline for the next time.
- Skipping the service log. Every unrecorded service becomes a guess later. A few notes per visit saves real money on the next one.
See the difference
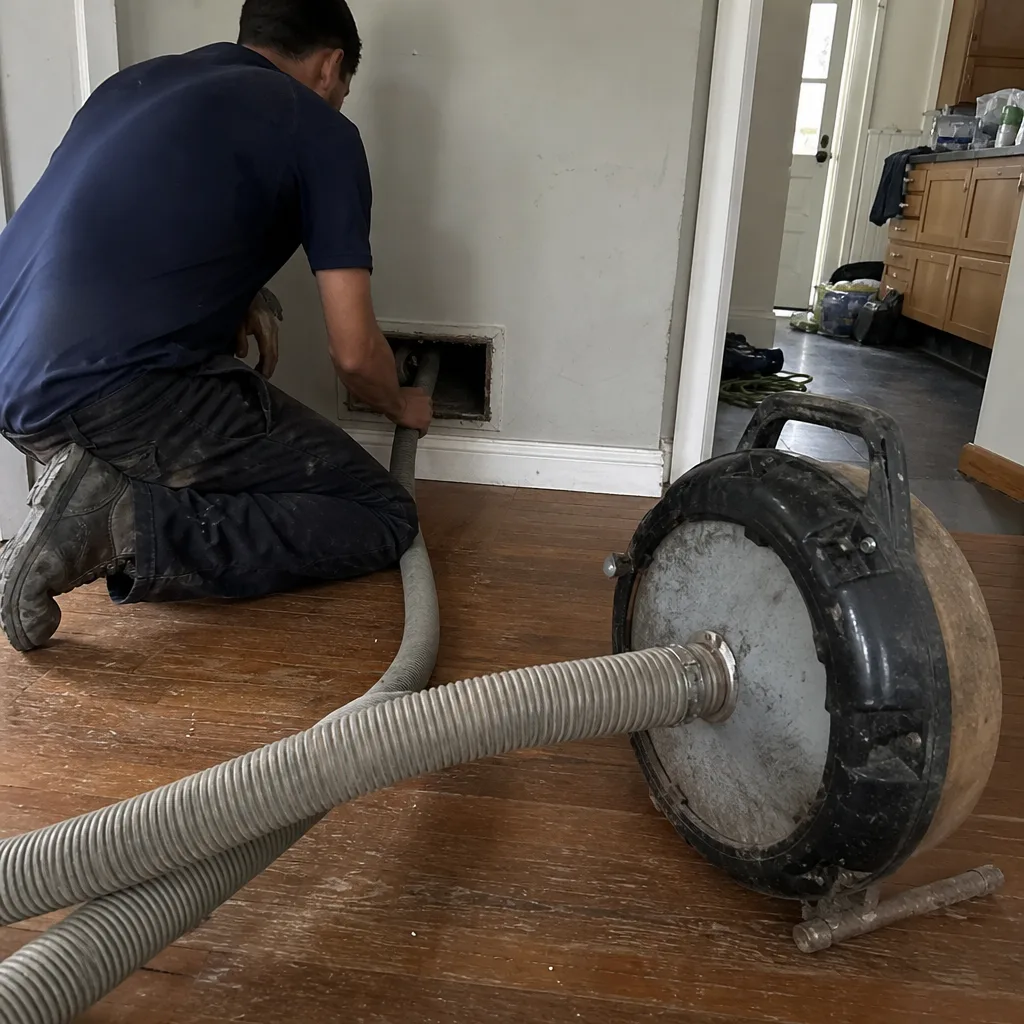 Before
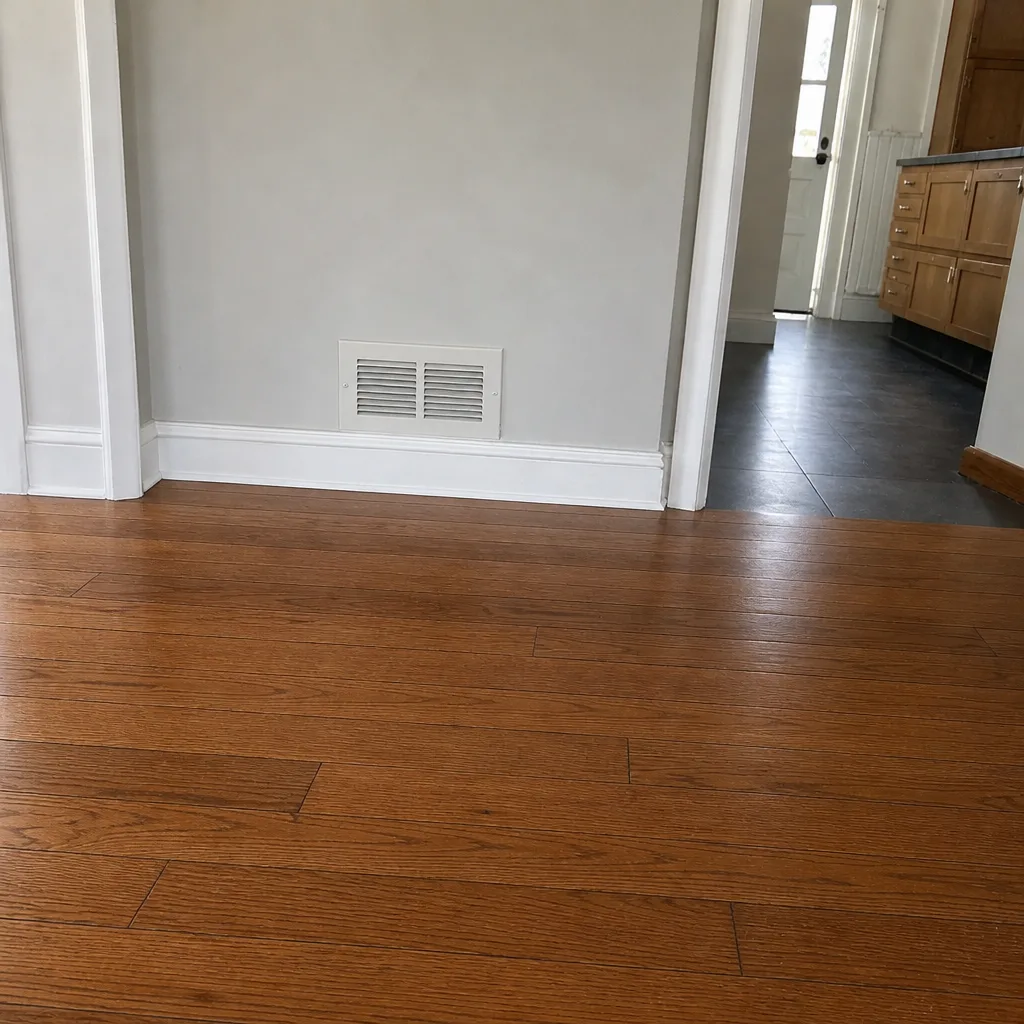 After
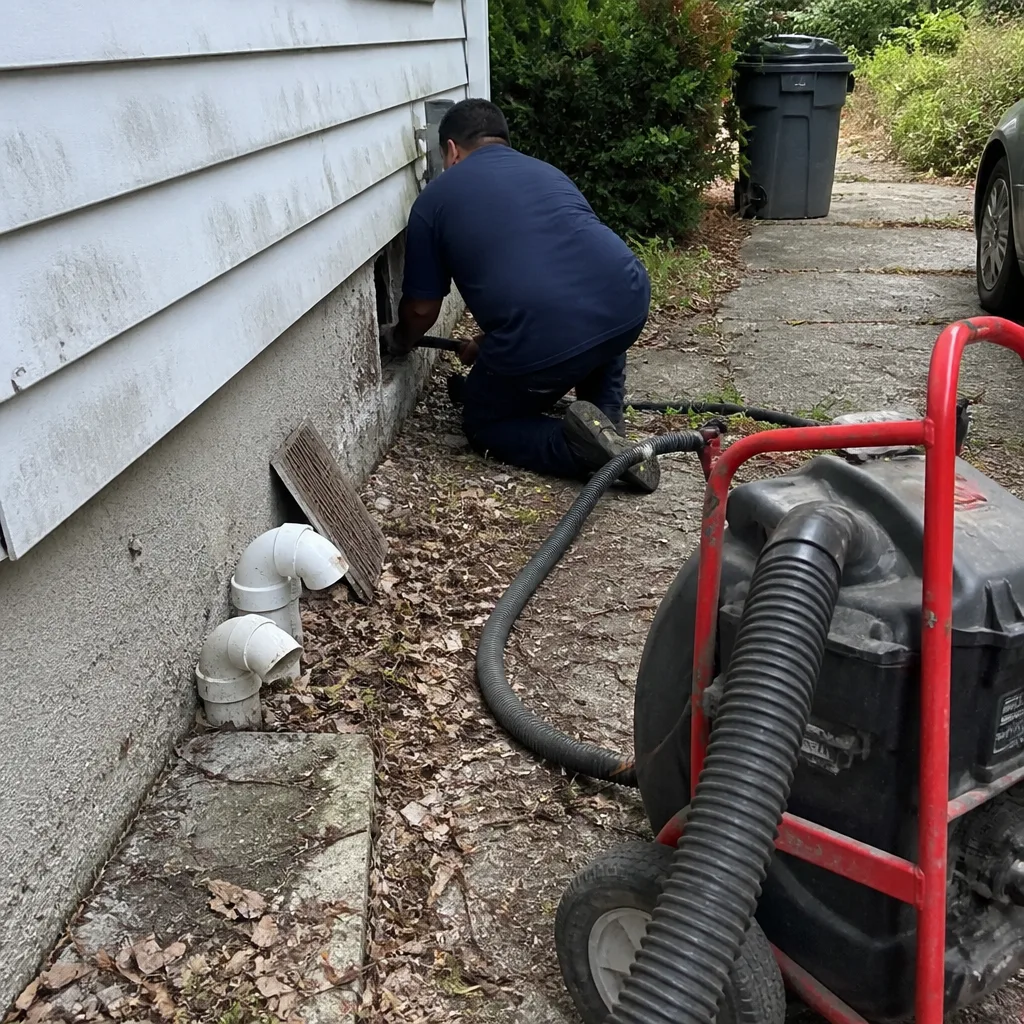 Before
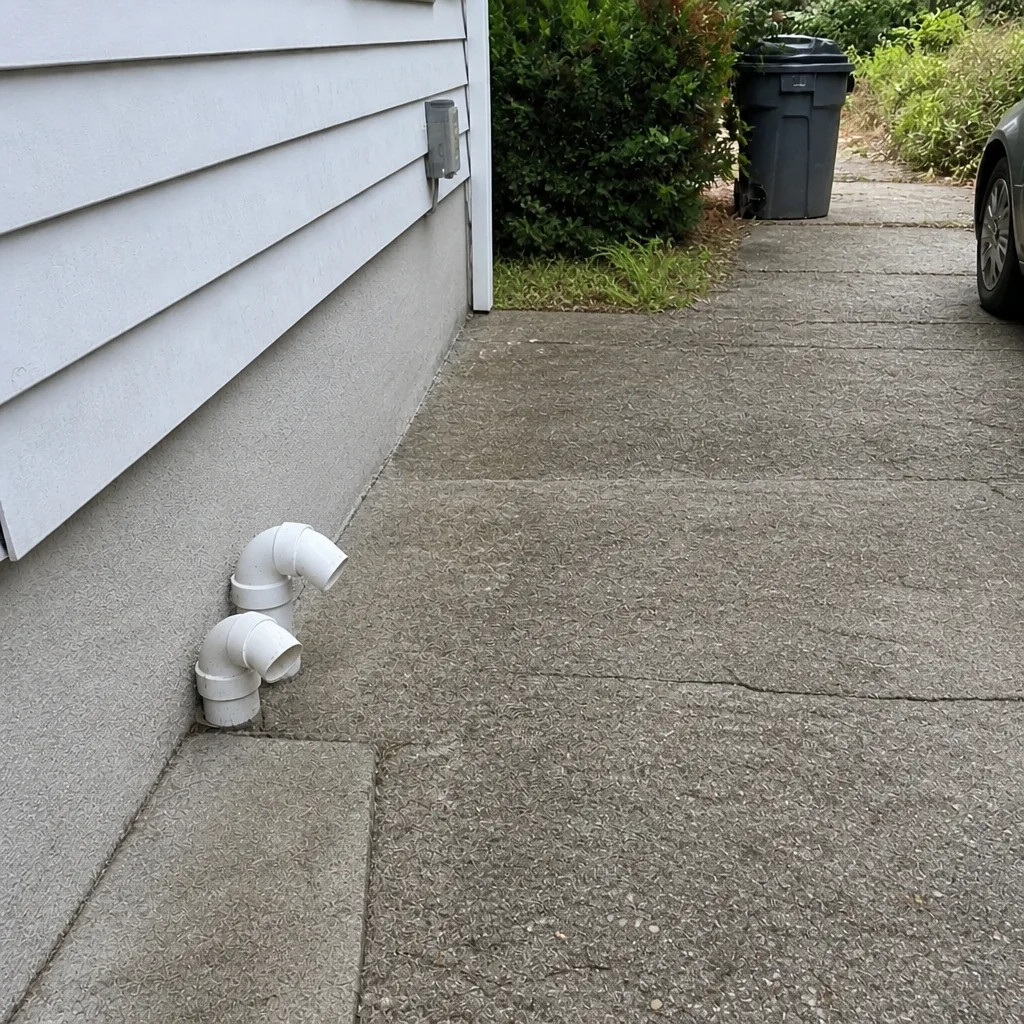 After
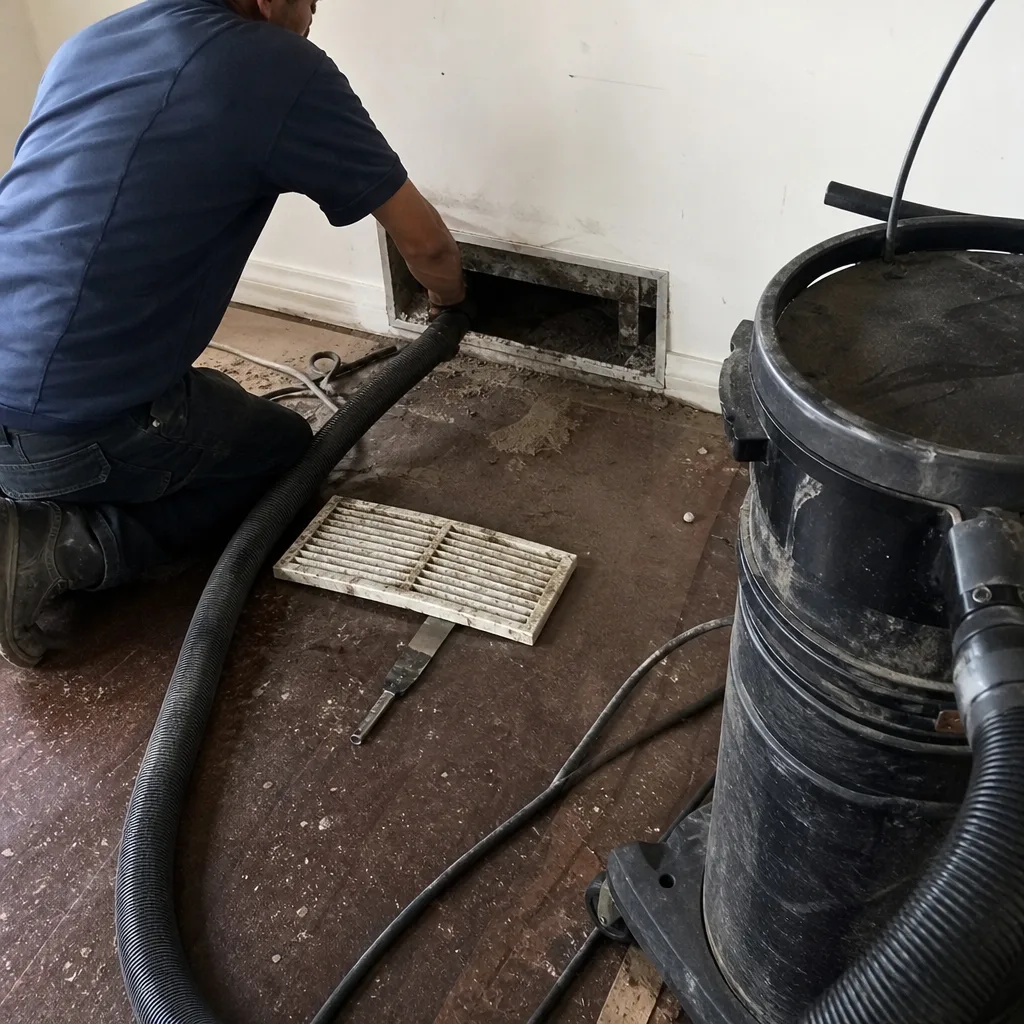 Before
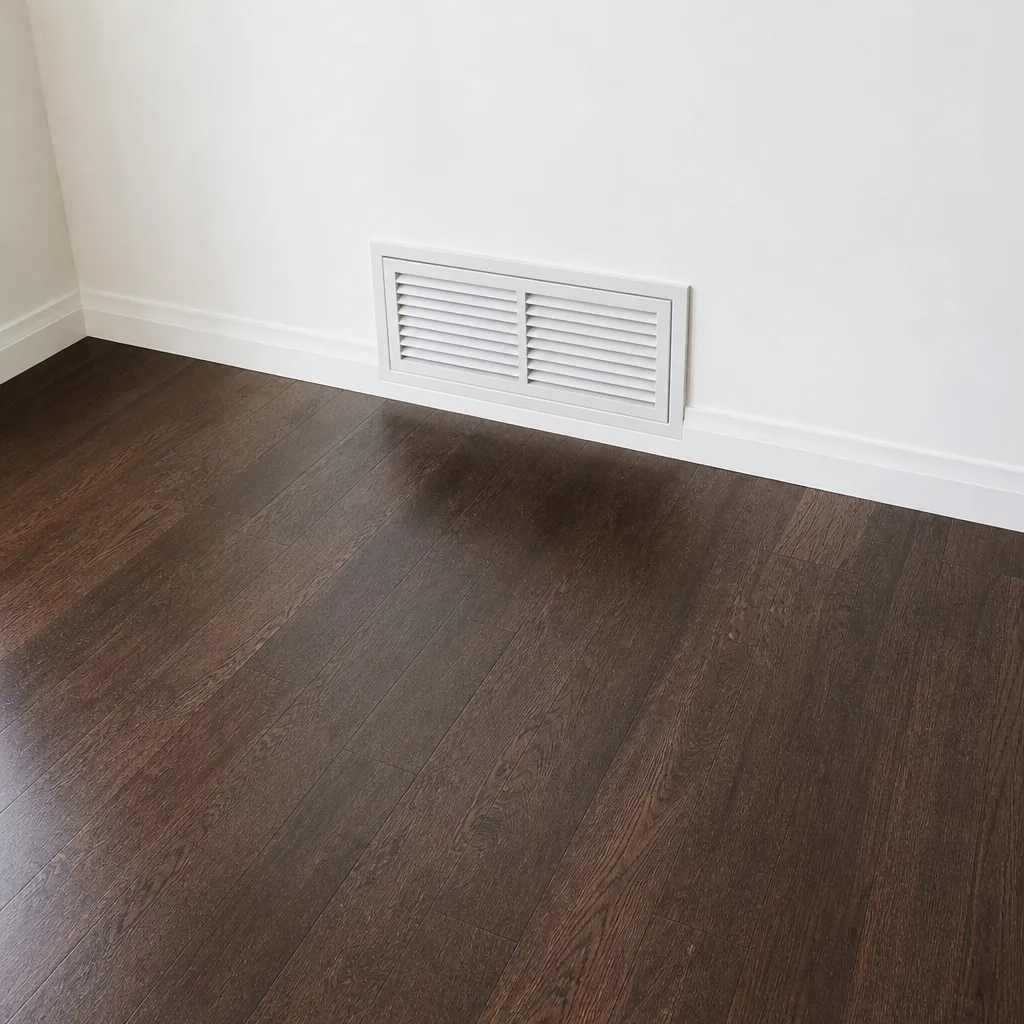 After
When to Call a Professional
Some findings on this checklist are yours to handle: a filter change, a monthly photo, a note in the log. Others need a trained technician. Call when you find visible microbial growth on any duct surface, when a joint is disconnected or tape has failed in a way you can’t safely reach, when airflow has dropped noticeably at multiple registers and a fresh filter doesn’t restore it, when condensation or rust bleed-through appears on a cold duct, or after any renovation in or adjacent to your building. Also call if a persistent musty odor returns within weeks of a cleaning, because that pattern points to an unresolved moisture or containment issue rather than ordinary dust.
Air Duct Cleaning Williamsburg offers free estimates in Williamsburg – call (833) 508-9915. We answer 24/7, with fast dispatch from 7am to 7pm, Sunday through Friday. One flat price per system is agreed before work starts, and you get before-and-after photos of your own ducts.
Frequently Asked Questions
Most whole-home duct cleanings in Williamsburg fall in the range of a few hundred dollars, with the final figure depending on the number of runs, the condition found during inspection, and whether repair or sealing is needed. We quote one flat price per system, agreed in writing before any work starts, and never price by the vent. Call (833) 508-9915 for an exact quote – estimates are free.
Cheap quotes usually skip the parts of the job you can’t see from a register: the main trunk, the return plenum, and containment of the debris as it’s loosened. Some also price per vent as a teaser, then expand the scope once the technician is on site. Ask what equipment is used and whether the price covers the whole system. Call (833) 508-9915 for a written estimate that holds.
Before-and-after photos of your own ducts, taken on the job, are the simplest proof, and a technician should be willing to walk you through what was found. Keep the photos in your service log. If a company won’t show you the inside of your own system before and after, that’s a reason to ask questions. Call (833) 508-9915 to book a cleaning with documented results.
Every three to five years suits most homes here, closer to two or three if you have pets, a humid basement, or recent renovation dust in the building. The inspection should drive the schedule, not a fixed calendar. A brief call with your observations can help you decide. Call (833) 508-9915 for a free estimate and an honest interval recommendation.
It catches the failures that lead to expensive repairs – tape giving up, joints separating, condensation soaking insulation – while they’re still cheap to fix. The monthly photo habit and the seasonal airflow check are the highest-value parts. If you find something on the checklist you can’t explain, call (833) 508-9915 and we’ll tell you whether it needs a visit.
After. Cleaning during construction means the ducts refill before the work finishes, so inspect more often during the project and schedule one thorough cleaning once it’s complete. If you share a return with the renovating unit, mention it when you call so the scope accounts for it. Call (833) 508-9915 to schedule around the project end date.
The Bottom Line
Duct maintenance isn’t a cleaning you book and forget – it’s a short monthly habit of photographing, checking airflow, and logging what you find. In Williamsburg’s humid summers and dense, constantly-renovating blocks, those observations catch the cheap problems: a curling tape joint, a damp duct jacket, a weak register, a filter loading faster than usual. Document everything, keep your own before-and-after photos, and let the system’s actual condition set your cleaning interval. When something shows up that you can’t safely reach or properly diagnose, that’s the moment to call. Our technicians have up to 13 years of experience and can walk you through what’s normal and what isn’t. Read more on air duct cleaning in Williamsburg if you’re starting from square one.
Call (833) 508-9915 for a free estimate. We answer 24/7, with fast dispatch from 7am to 7pm, Sunday through Friday.
Written by the team at Air Duct Cleaning Williamsburg.